Tutorial
What we need:
- USB extender
- Pliers
- Tongs
- Utilify knife
- Welder machine
- Insulating tape
- 2 x Power connecting tube
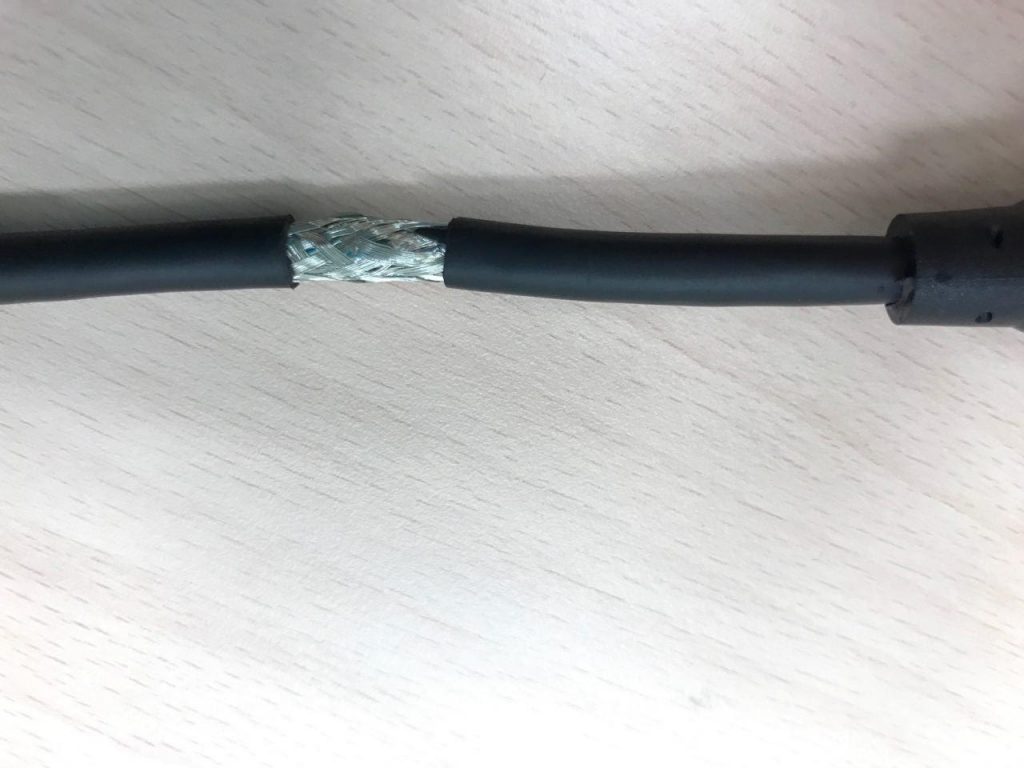
Step 1. Remove the coating of the wire
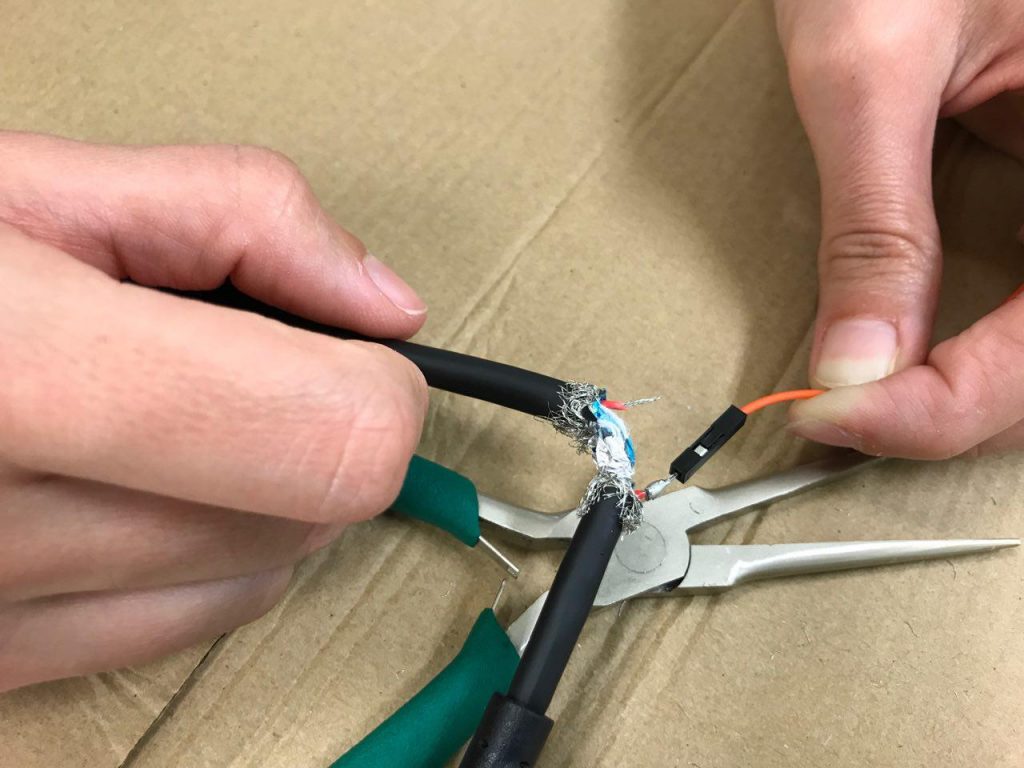
Step 2. Extract the red wire: Vcc (+5V)
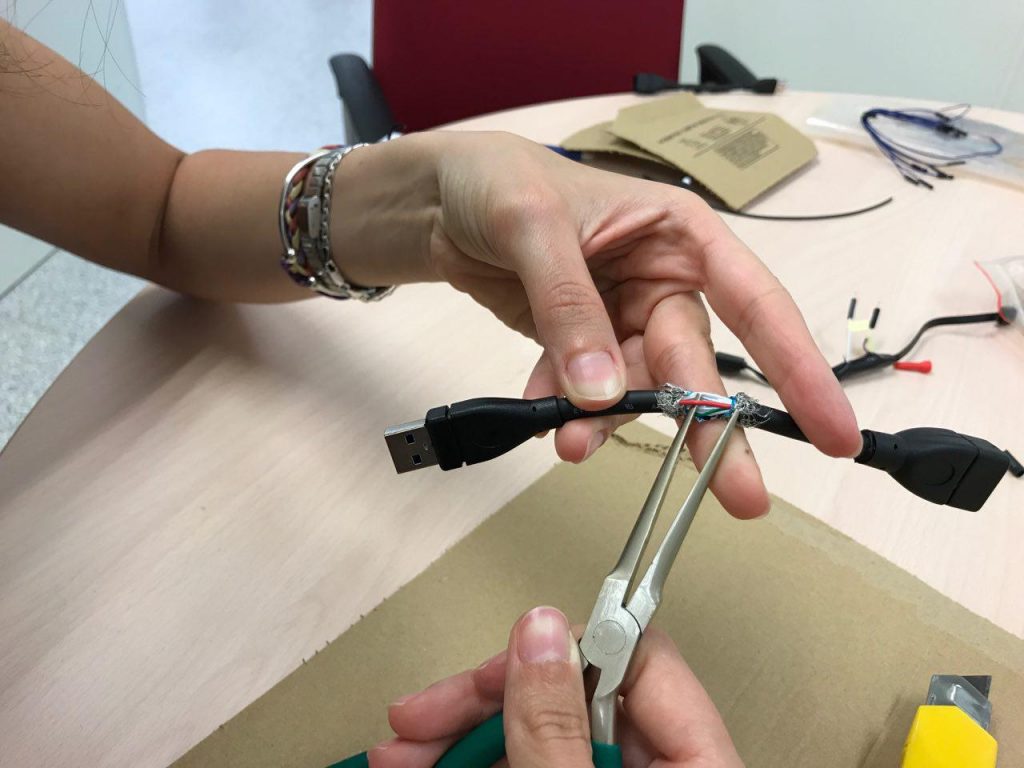
Step 3. Cut the red wire. Don’t be afraid!

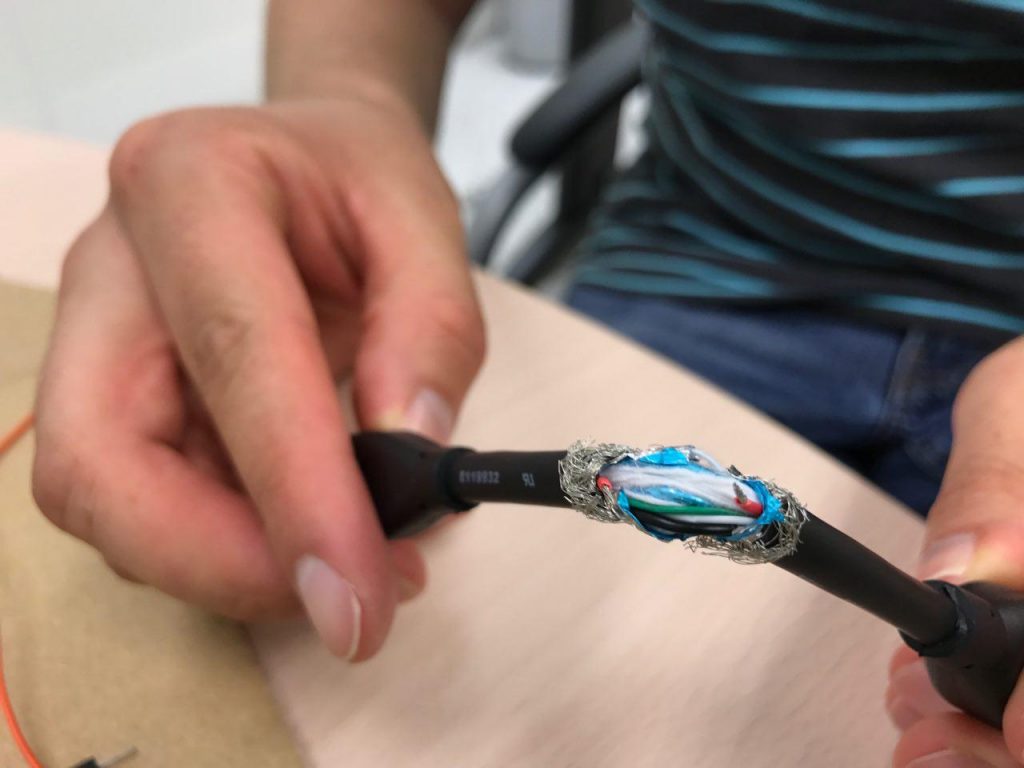
Step 4. Remove the coating around the end of the wire
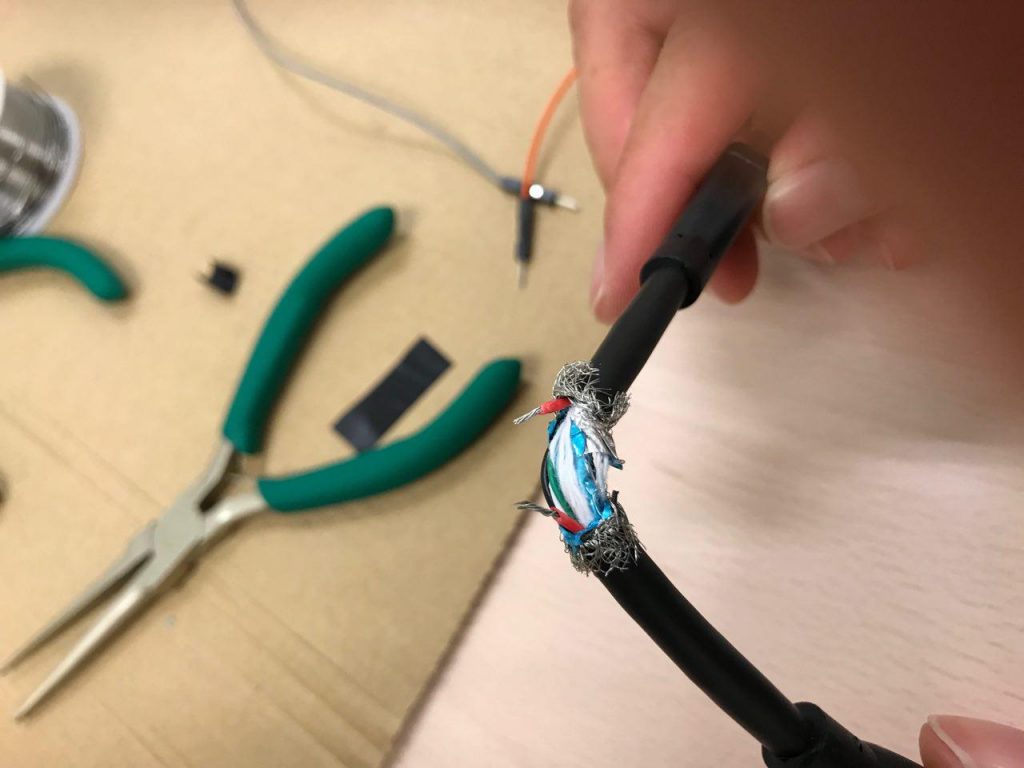
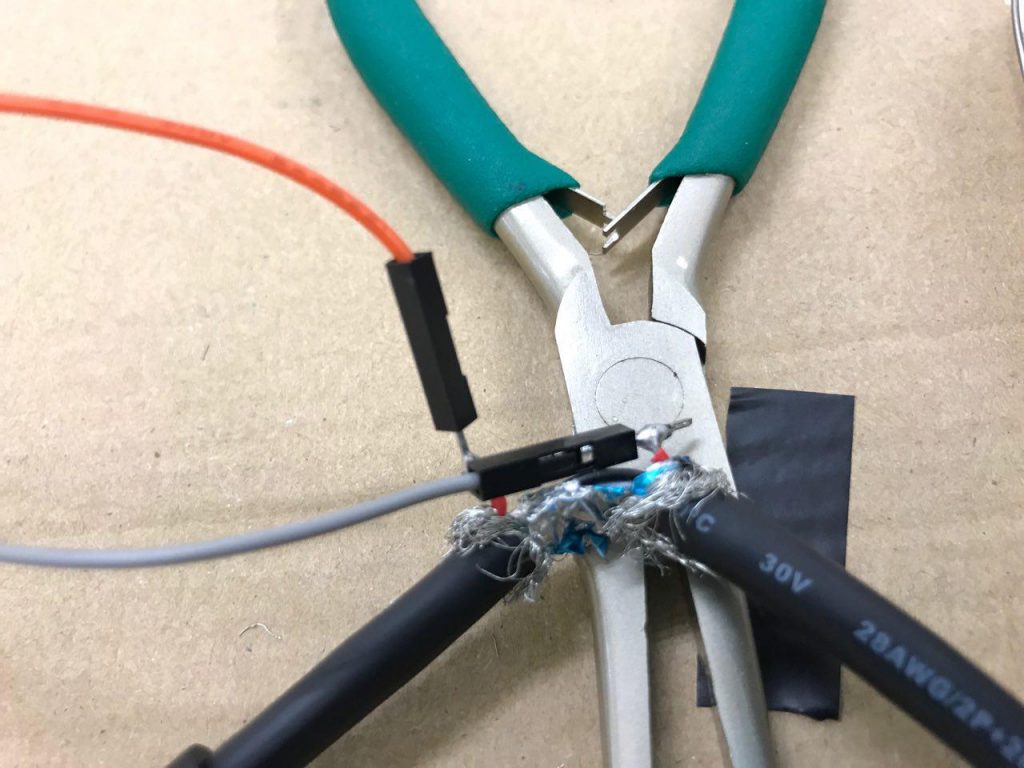
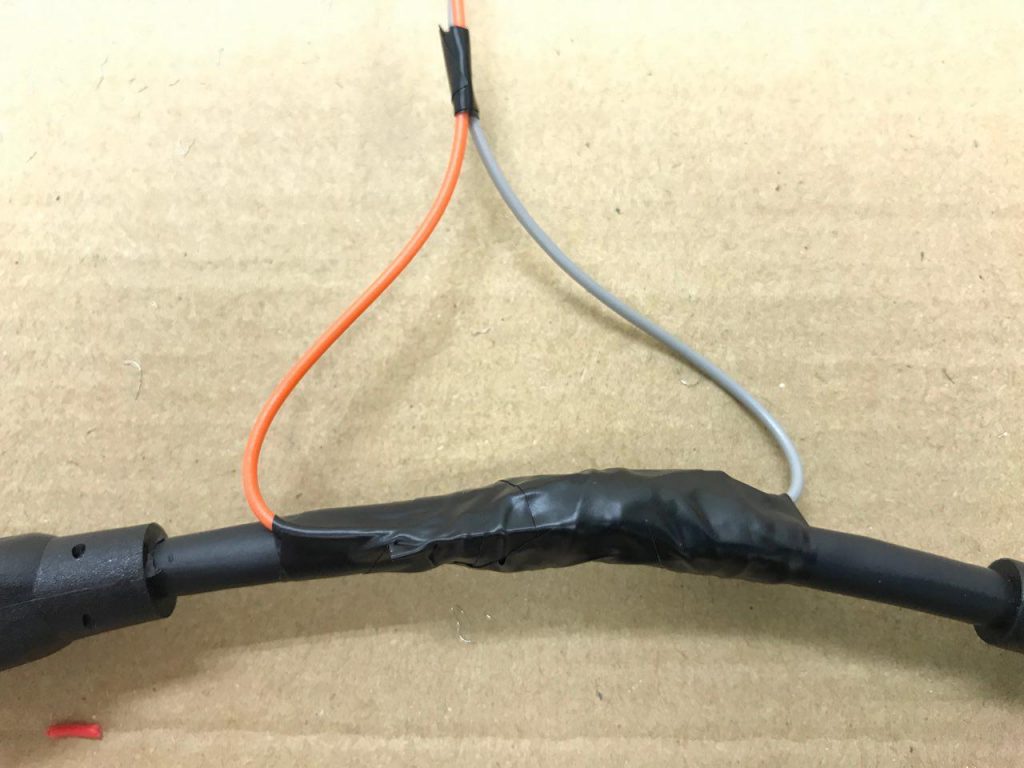
Step 5. Weld a connecting tube to each end
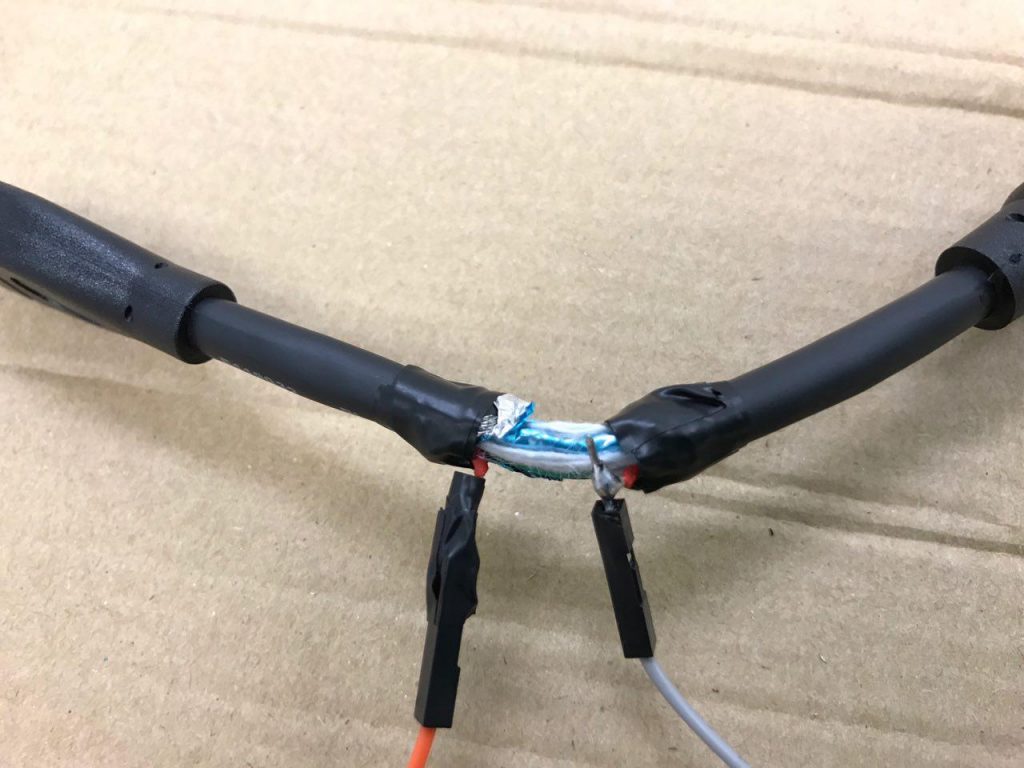
Step 6. Each joint is coated with insulating tape independently, so that they do not touch the wire insulation. Then we cover the rest of the wire
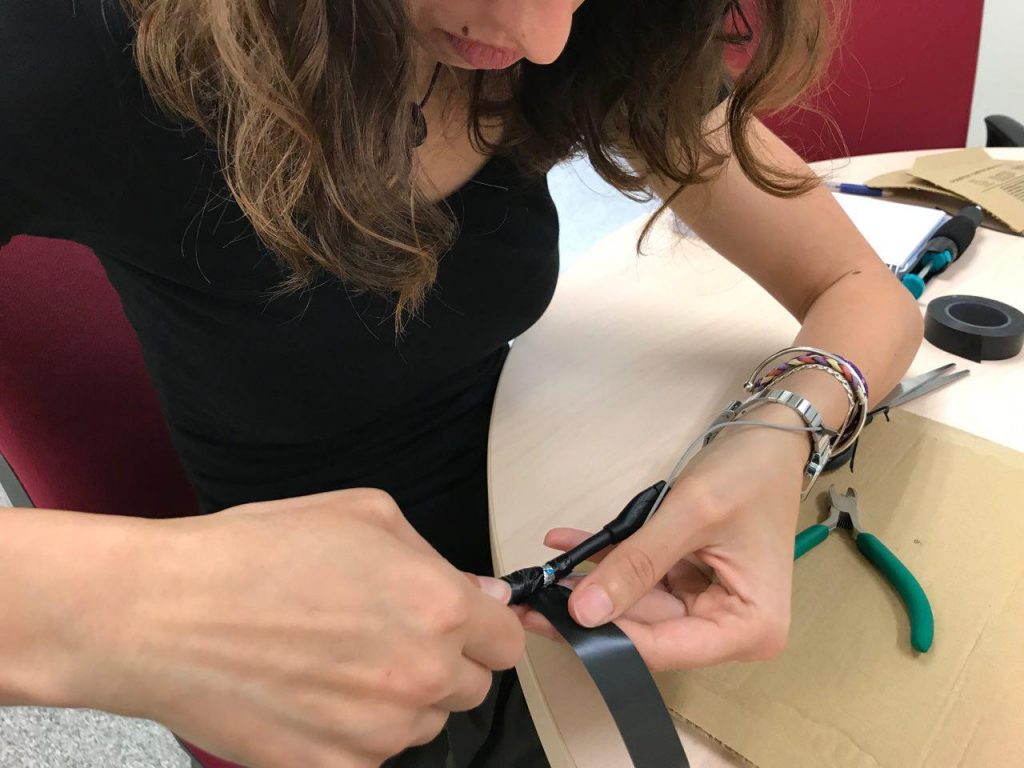
It’s done!
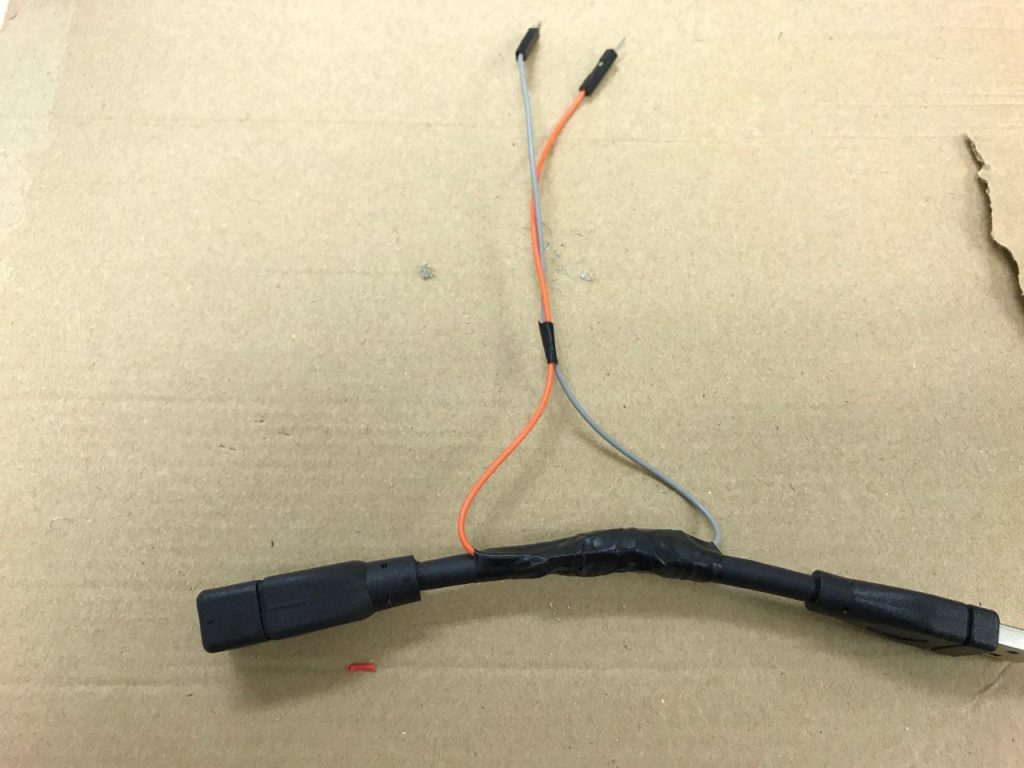
Connect the extender to the current sensor connected to the Raspberry Pi
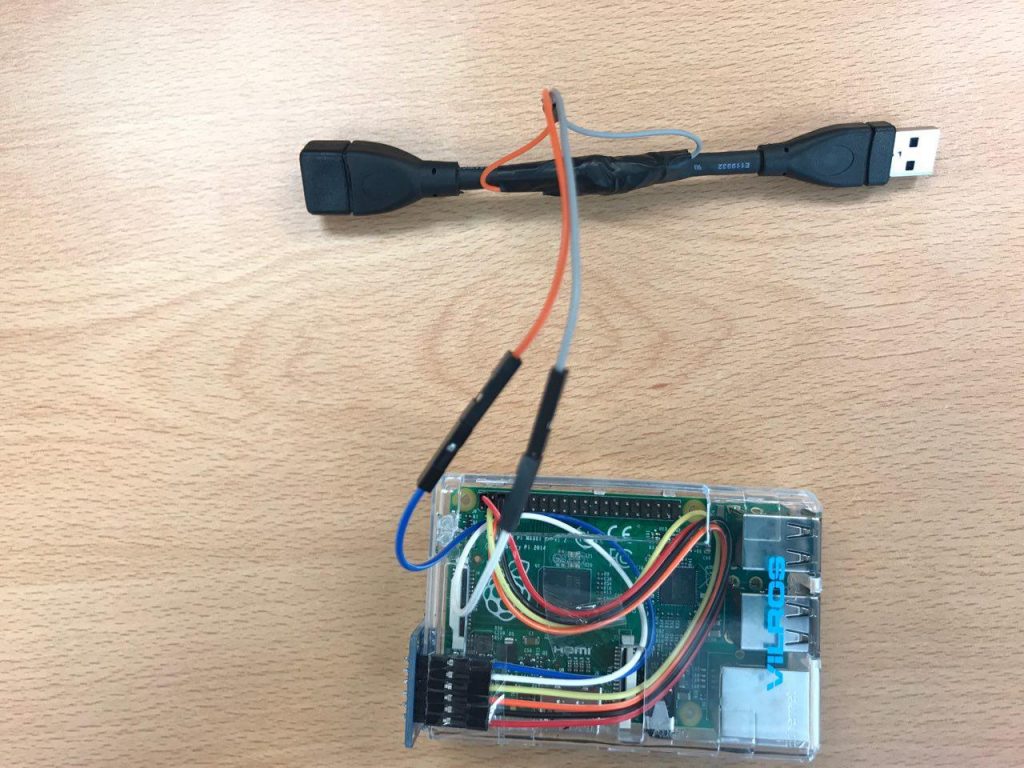
+Vin blue – orange / – Vin white – grey
Current sensor: INA219 High Side DC Current Sensor Breakout -26V +-3.2A Max

If you are a video type person, you’d better click ![]()